The Only 5 Power Tools You Actually Need (And the Order to Buy Them)
Skip the marketing hype and tool hoarding. Here are the essential power tools that will handle 90% of your DIY projects, plus the smart order to buy them in.
Walk into any Home Depot and you’ll be assaulted by walls of power tools, each promising to revolutionize your DIY life. But here’s the dirty secret the tool industry doesn’t want you to know: you can accomplish about 90% of home improvement projects with just five power tools.
I’m not talking about becoming a weekend warrior with a garage full of rarely-used equipment. I’m talking about the core tools that will actually earn their keep, pay for themselves, and turn you from “person who calls someone else” into “person who fixes things.”
Let’s cut through the marketing noise and build a power tool collection that makes sense.
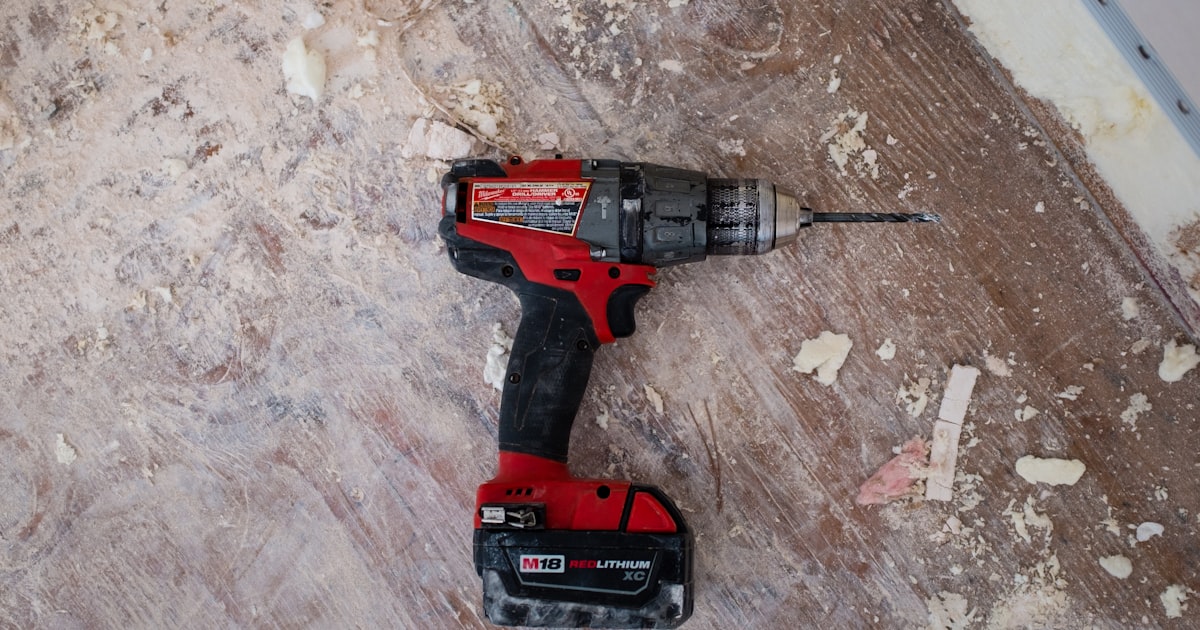
Tool #1: Cordless Drill/Driver (Buy This First)
If you only ever buy one power tool, make it a quality cordless drill. Not a $20 special from a gas station, but a real drill that can handle drilling holes AND driving screws without stripping them or your patience.
The Milwaukee M18 Fuel Hammer Drill-Driver Kit is built like a tank and will outlast most marriages. Yes, it’s an investment, but this is the tool you’ll reach for constantly—mounting TVs, building furniture, hanging pictures, assembling IKEA disasters.
Why buy this first? Because it immediately makes you more capable. Suddenly, hanging curtains isn’t a 3-hour ordeal involving multiple trips to find the right screwdriver. You’ll use this tool more than any other in your collection.
What it does: Drills holes in wood, metal, and masonry. Drives screws without destroying your wrist. The hammer function tackles concrete and brick.
Why cordless matters: No wrestling with extension cords, no finding outlets, no accidentally drilling through the cord (yes, we’ve all been there).
For more options, check our complete cordless drills guide, but honestly, buy once and cry once with a quality drill.
Tool #2: Circular Saw (Your Straight-Cut Hero)
Once you can drill holes and drive screws, you’ll start wanting to cut things. A circular saw is your gateway to real woodworking projects. Building a deck? You need this. Cutting lumber for raised garden beds? Circular saw. Trimming plywood for a project? This is your tool.
The Bosch CS10 7-1/4 In. Circular Saw is reliable and accurate. It’s not the fanciest saw on the market, but it makes clean cuts and won’t bankrupt you.
Pro tip: Buy a good blade immediately. The blade that comes with most saws is garbage. A quality carbide-tipped blade will give you cleaner cuts and last much longer.
Safety reality check: Circular saws demand respect. They can cut through 2x4s effortlessly, which means they can absolutely ruin your day if you’re careless. Always use the blade guard, watch your hands, and never force the cut.
Browse our full circular saws guide for more options, but for most DIYers, a basic corded saw is perfect.
Tool #3: Jigsaw (For Everything Else)
While your circular saw handles straight cuts in lumber, your jigsaw handles everything else. Curved cuts, plunge cuts, cutting out sink holes in countertops, following templates—this is your precision cutting tool.
Jigsaws are also more beginner-friendly than circular saws. They’re less intimidating, easier to control, and much less likely to kickback and cause injury.
What makes jigsaws special: You can start cuts in the middle of a board (plunge cutting), follow curved lines, and make intricate cuts that would be impossible with a circular saw.
Blade selection matters: Different blades for different materials. Wood blades, metal blades, fine-tooth blades for clean cuts, aggressive blades for fast rough cuts. Buy a variety pack and experiment.
Check out our jigsaws guide for specific recommendations, but any reputable brand will serve you well.
Tool #4: Orbital Sander (Your Finishing Touch)
Nothing says “amateur” like leaving tool marks and rough surfaces on your projects. An orbital sander transforms rough lumber into smooth, professional-looking surfaces ready for stain or paint.
The WEN 6301 Electric Detailing Palm Sander is affordable and effective for most DIY projects. It’s not going to win any awards, but it’ll smooth out your projects without breaking the bank.
Why orbital: Random orbital sanders prevent the swirl marks that straight sanders can leave. They’re also versatile enough to handle both rough shaping and fine finishing.
Sandpaper grades: Start coarse (60-80 grit) to remove rough spots, progress to medium (120 grit) for general smoothing, finish with fine (220 grit) for a smooth surface ready for finishing.
Our orbital sanders guide covers more options, but for occasional DIY use, a basic palm sander is perfect.
Tool #5: Impact Driver (The Screw-Driving Specialist)
“Wait,” you’re thinking, “didn’t we already cover screws with the drill?” Yes, but an impact driver is different. It’s specifically designed for driving screws, especially long screws or screws into hard materials.
The Milwaukee 2656-20 M18 Impact Driver delivers incredible torque without the wrist-twisting that comes with a regular drill. Building a deck? The impact driver will sink 3-inch deck screws effortlessly.
Why you need both: Your drill is precision—pilot holes, small screws, delicate work. Your impact driver is power—long screws, lag bolts, anything that needs serious torque.
The sound: Impact drivers make a distinctive hammering sound. It’s not broken—that’s how they work. The hammering action delivers massive torque without transmitting it to your wrist.
Check our impact drivers guide for more options, but if you’re already invested in one battery platform, stick with it.
The Smart Buying Strategy
Don’t buy all five tools at once. Here’s the order that makes financial and practical sense:
Phase 1 (Total: ~$150-200): Cordless drill/driver. Use this for 6 months. Get comfortable with it. Learn what projects you actually want to tackle.
Phase 2 (Add ~$100): Add a circular saw. Now you can build simple projects—shelves, garden beds, basic carpentry.
Phase 3 (Add ~$80): Add a jigsaw. Your project complexity can now increase dramatically. Curved cuts, interior cutouts, more intricate work.
Phase 4 (Add ~$60): Add an orbital sander. Now your projects look professional instead of obviously homemade.
Phase 5 (Add ~$120): Add an impact driver. You’re now equipped to handle serious construction projects.
Battery Compatibility: The Long Game
Here’s where tool companies get sneaky: once you buy into a battery platform, they’ve got you. Your Milwaukee batteries won’t work in DeWalt tools and vice versa.
Strategy: Pick a platform and stick with it. Milwaukee, DeWalt, and Ryobi all make quality tools. The specific brand matters less than staying consistent so your batteries work across all your tools.
Pro tip: Buy tool-only versions after your first kit. You don’t need 8 batteries and 6 chargers cluttering your space.
Storage That Actually Works
Tools scattered around your garage or basement aren’t helping anyone. Get a decent tool bag like the CLC Custom Leathercraft 1509 Professional Tool Pouch. Keep your essential tools together, charged, and ready to use.
Or invest in a proper tool box system. The Performance Tool W54020 20-Inch Tool Box keeps everything organized and portable.
When your tools have a home, you’re more likely to maintain them and actually use them for projects.
What About All the Other Tools?
“But what about a router? A nail gun? A miter saw?” Look, there are hundreds of specialized tools, and many are excellent at their specific jobs. But these five tools will handle the vast majority of home improvement projects.
Buy specialty tools when you have a specific need for them, not because they look cool or might be useful someday. Your garage doesn’t need to look like a tool catalog.
Safety Isn’t Optional
Power tools can seriously injure you. Every single one of these tools can cause permanent damage if used carelessly.
Non-negotiables:
- Safety glasses for everything
- Hearing protection for loud tools
- Work gloves when handling rough materials
- Stable work surfaces—no holding boards in your lap while cutting
- Proper lighting so you can see what you’re doing
- Disconnecting power when changing blades or bits
The emergency room is full of people who “just needed to make one quick cut.”
What We Recommend
For the absolute beginner: Start with just a quality cordless drill. Use it for six months, then add tools as you discover you need them.
For the motivated DIYer: Get the drill, then add a circular saw and orbital sander. This trio will handle most home projects.
For the serious home improver: All five tools, a quality tool bag, and proper safety equipment.
Essential guides: Check out our complete guides for cordless drills, circular saws, jigsaws, orbital sanders, impact drivers, and tool bags.
Remember: tools don’t make you a craftsman, but the right tools make craftsmanship possible. Start with quality basics, learn to use them well, and add specialty tools only when you have a clear need for them. Your wallet and your projects will thank you.
Related articles

Best Products for Boosting Your Home's Curb Appeal in 2026
Transform your home's exterior with these top-rated curb appeal products. From outdoor string lights to stylish house numbers, discover what homeowners are buying to make their properties stand out.

Carpet vs Hardwood vs Vinyl Flooring: Complete 2026 Comparison Guide
Compare carpet, hardwood, and vinyl flooring across cost, durability, maintenance, and style. Get expert insights to choose the perfect flooring for your home.

Gas vs Electric Stove: The Ultimate 2026 Kitchen Guide
Choosing between gas and electric stoves? Our comprehensive guide covers performance, cost, safety, and everything you need to know to make the right decision for your kitchen.